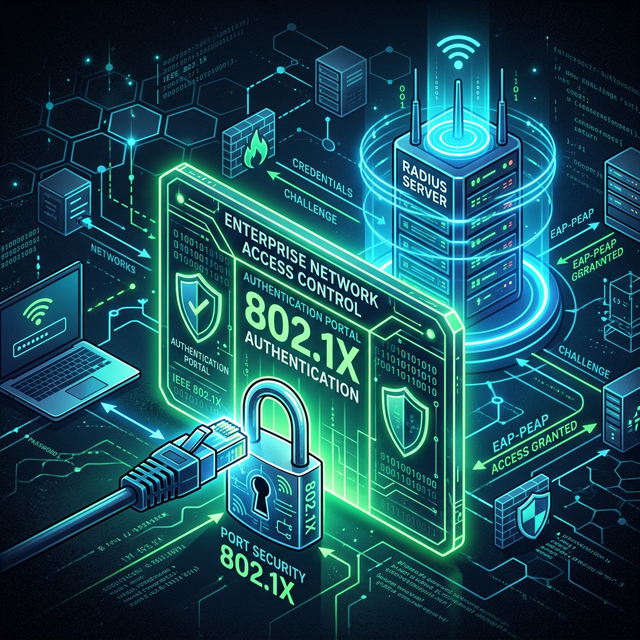
802.1x mit PacketFence - Teil 2: Dynamische VLAN-Zuweisung & Profiling
Fortgeschrittene 802.1x-Konfiguration mit dynamischer VLAN-Zuweisung, MAC Authentication Bypass und gerätebasierter Zugriffssteuerung.

🎯 Was du lernst
🛒 Empfohlene Hardware
🛒 Empfohlene Produkte
📑 Inhaltsverzeichnis
Anleitung
1. Einleitung
🔐 802.1x mit PacketFence - Teil 2
Fortgeschrittene NAC-Features: VLANs, Profiling & Compliance!
2. 📋 Übersicht
| Eigenschaft | Details |
|---|---|
| Zeitaufwand | ~75 Minuten |
| Schwierigkeit | ⭐⭐⭐ Profi |
| Voraussetzung | Teil 1 abgeschlossen |
| Anwendungsfall | Enterprise-Netzwerke |
3. 🎯 Was du lernst
- ✅ Dynamische VLAN-Zuweisung basierend auf Identität
- ✅ MAC Authentication Bypass für Geräte ohne 802.1x
- ✅ Geräte-Profiling (Was ist am Netzwerk?)
- ✅ Compliance-Checks (Ist das Gerät sicher?)
- ✅ Gast-Zugang mit Sponsor-Funktion
4. 📦 Voraussetzungen
- PacketFence Server läuft (Teil 1)
- UniFi Infrastruktur mit 802.1x
- Mindestens 3 VLANs eingerichtet
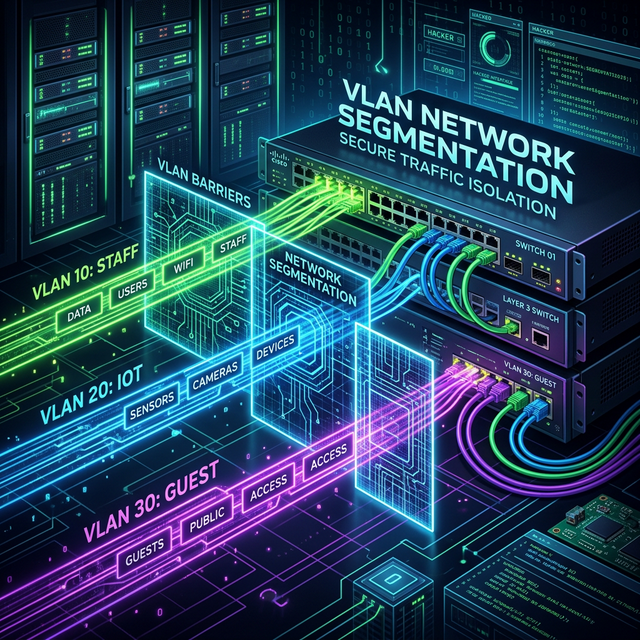
5. 🚀 Dynamische VLAN-Zuweisung
6. VLANs pro Rolle konfigurieren
Configuration > Policies and Access Control > Roles:
Rollen definieren:
| Rolle | VLAN | Beschreibung |
|---|---|---|
| employee | 30 | Vollzugriff auf Corporate-Netz |
| guest | 40 | Nur Internet, isoliert |
| iot | 50 | IoT-Geräte, eingeschränkt |
| voip | 60 | Telefone, Priorität |
| quarantine | 20 | Isolation bei Problemen |
VLAN-Zuweisung:
- Edit Role (z.B. “employee”)
- VLAN Pool:
30 - Max Nodes per PID:
5(max. 5 Geräte pro User) - Save
7. Role-based Zuweisung testen
Test-Szenario:
- Mitarbeiter verbindet Laptop
- Authentifiziert sich mit 802.1x
- PacketFence weist Rolle “employee” zu
- VLAN 30 wird automatisch zugewiesen
Prüfen auf dem Client:
ipconfig /all
# Sollte zeigen: VLAN 30 (192.168.30.x)
8. 🔌 MAC Authentication Bypass (MAB)
9. Was ist MAB?
Für Geräte ohne 802.1x-Support:
- Drucker, Kameras, IoT-Geräte
- Authentifizierung über MAC-Adresse
- Weniger sicher, aber praktisch
10. MAB für Geräte aktivieren
Configuration > Policies and Access Control > Connection Profiles:
-
wired_mac_auth bearbeiten:
- Connection Type:
Ethernet-NoEAP - Sources:
Local-RADIUS - Filter:
mac::normal
- Connection Type:
-
Filter-Regel hinzufügen:
# In advanced filter:
connection_type == "Ethernet-NoEAP"
11. Geräte registrieren
Option A: Manuelle Registrierung
Configuration > Nodes:
- Add Node
- MAC:
aa:bb:cc:dd:ee:ff - Status: Registered
- Role:
iot - Save
Option B: Self-Registration Portal
Configuration > Self Registration:
- Enable: Guest self registration
- Authentication: SMS oder Email
- Access Duration: 1 day (für Gäste)
12. MAC-Auth mit VLAN testen
Drucker anschließen:
- Drucker an 802.1x-Port
- Keine Benutzer-Authentifizierung
- PacketFence erkennt MAC
- VLAN 50 (iot) wird zugewiesen
Prüfen:
# Auf PacketFence
/usr/local/pf/bin/pfcmd node view aa:bb:cc:dd:ee:ff
13. 🕵️ Geräte-Profiling
14. Profiling aktivieren
Configuration > Network > Device Profiling:
Fingerprinting aktivieren:
- DHCP Fingerprinting: ✅
- HTTP User-Agent: ✅
- MAC Vendor Lookup: ✅
- SNMP OID: ✅
15. Profiling-Regeln
Standard-Profile:
| Profil | Erkennung | Aktion |
|---|---|---|
| Windows-PC | DHCP + User-Agent | Rolle: employee |
| iPhone | MAC Vendor (Apple) | Rolle: employee |
| Printer | SNMP OID | Rolle: iot |
| Camera | MAC Vendor | Rolle: iot, VLAN 50 |
Eigenes Profil erstellen:
- Configuration > Network > Device Profiling > Add Profile
- Name:
Company-Printers - Matchers:
- DHCP Fingerprint:
HP Printer - MAC Vendor:
Hewlett Packard
- DHCP Fingerprint:
- Action:
- Role:
iot - VLAN:
50
- Role:
- Save
16. Unbekannte Geräte behandeln
Configuration > Connection Profiles:
Unknown-Devices Profil:
- Quelle:
mac::normal - Aktion: Isolation (VLAN 20)
- Admin-Alert: ✅
17. 🛡️ Compliance-Checks
18. Fingerbank Integration
Was ist Fingerbank?
- Datenbank für Geräte-Fingerprints
- Erkennt Betriebssysteme, Gerätetypen
- Integriert in PacketFence
Aktivieren:
- Configuration > Fingerbank > General
- Enable Fingerbank: ✅
- API Key: (kostenlos bei fingerbank.org)
- Save
19. Compliance-Profile
Configuration > Compliance > Device Compliance:
Windows-Compliance:
- Profile Name:
Windows-Update-Check - OS: Windows 10, Windows 11
- Checks:
- ✅ Windows Updates (nicht älter als 30 Tage)
- ✅ Antivirus aktiv
- ✅ Firewall aktiv
- Nicht konform: VLAN 20 (Quarantäne)
Implementierung:
# Compliance-Regel
if ($os == "Windows 10") {
    if ($windows_update > 30_days) {
        return "non_compliant";
        $vlan = 20;
    }
}
20. Remediation Portal
Nicht-konforme Geräte:
- Werden in VLAN 20 (Quarantäne) gesperrt
- Sehen ein Remediation Portal
- Anweisungen zur Behebung
- Nach Fix: Automatische Freigabe
Portal anpassen: Configuration > Connection Profiles > Quarantine:
- Template:
remediation.html - Nachricht: “Bitte führen Sie Windows Updates durch”
21. 👥 Gast-Zugang mit Sponsor
22. Sponsor-Funktion aktivieren
Configuration > Self Registration > Sponsors:
- Enable Sponsorship: ✅
- Sponsor Email Domain:
@company.de - Access Duration: 1 day
- Max Devices: 2
23. Gast-Workflow
Ablauf:
- Gast verbindet sich
- Öffnet Browser → Sponsor-Portal
- Trägt eigenen Namen + Email ein
- Trägt Sponsor-Email ein (Mitarbeiter)
- Mitarbeiter bekommt Email → Bestätigt
- Gast hat Zugriff für 24h
Portal-Text anpassen:
<h1>Willkommen bei Company Guest WiFi</h1>
<p>Bitte geben Sie Ihre Daten und die Email eines Mitarbeiters ein.</p>
24. 📊 Reporting & Monitoring
25. Dashboard anpassen
Status > Dashboard:
Widgets hinzufügen:
- Aktive 802.1x Sessions
- Non-compliant Geräte
- Top-Benutzer (meiste Geräte)
- VLAN-Verteilung
26. Reports erstellen
Reports > Standard Reports:
Benutzerdefinierter Report:
- Name: “Monthly Device Audit”
- Query:
SELECT
    pid as username,
    COUNT(*) as device_count,
    role,
    DATE(last_seen) as last_seen
FROM node
WHERE status = 'registered'
GROUP BY pid
ORDER BY device_count DESC;
- Schedule: Monthly
- Email: admin@company.de
27. Alerts konfigurieren
Configuration > Alerting:
Security-Alerts:
- Unauthorized device detected
- Non-compliant device connected
- RADIUS authentication failure (>10 in 5 Min)
- Unknown DHCP fingerprint
28. 🔧 Troubleshooting
29. Gerät landet immer in Quarantäne
# Fingerbank-Daten prüfen
/usr/local/pf/bin/pfcmd fingerbank lookup aa:bb:cc:dd:ee:ff

# Device-Profil zuweisen
/usr/local/pf/bin/pfcmd node edit aa:bb:cc:dd:ee:ff category=iot
30. VLAN wird nicht zugewiesen
- ✅ Role in PacketFence korrekt?
- ✅ VLAN existiert auf Switch?
- ✅ RADIUS-Antwort enthält VLAN? (Debug)
# RADIUS-Debug aktivieren
tail -f /usr/local/pf/logs/radius.log | grep VLAN
31. Compliance-Check funktioniert nicht
- ✅ Fingerbank API-Key gültig?
- ✅ Gerät erkannt als richtiges OS?
- ✅ Compliance-Regel aktiv?
32. 🎓 Best Practices
- MAC-Auth nur für IoT (nicht für Laptops)
- Rolle “guest” stark einschränken (nur Internet)
- Compliance-Checks regelmäßig reviewen
- Monitoring auf Unauthorized Devices
- Backup der PacketFence-Config (automatisieren)
33. 🔗 Integrationen
Weitere Features:
- AD/LDAP Integration für Benutzer-Sync
- API-Zugriff für Automatisierung
- Syslog Export zu SIEM (Splunk, ELK)
- Multi-Tenant für mehrere Standorte
Das war’s! Dein Enterprise-NAC ist jetzt vollständig. 🎉
Fragen? Schreib uns auf Instagram!
Das könnte dich auch interessieren

✅ Geschafft!
Du hast dieses Tutorial abgeschlossen. Hast du Fragen oder Probleme?
Schreib uns auf Instagram